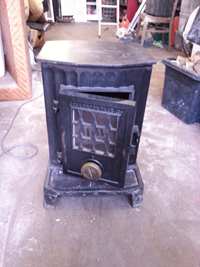
Wood burner restoration
The following is a step by step description of a restoration of a
vintage Coalbrookdale Little Wenlock Burner. Coalbrookdale are a
Shropshire based foundry that later merged with
AGA and the contemporary AGA Little Wenlock stove has many features in common with
Coalbrookdale.
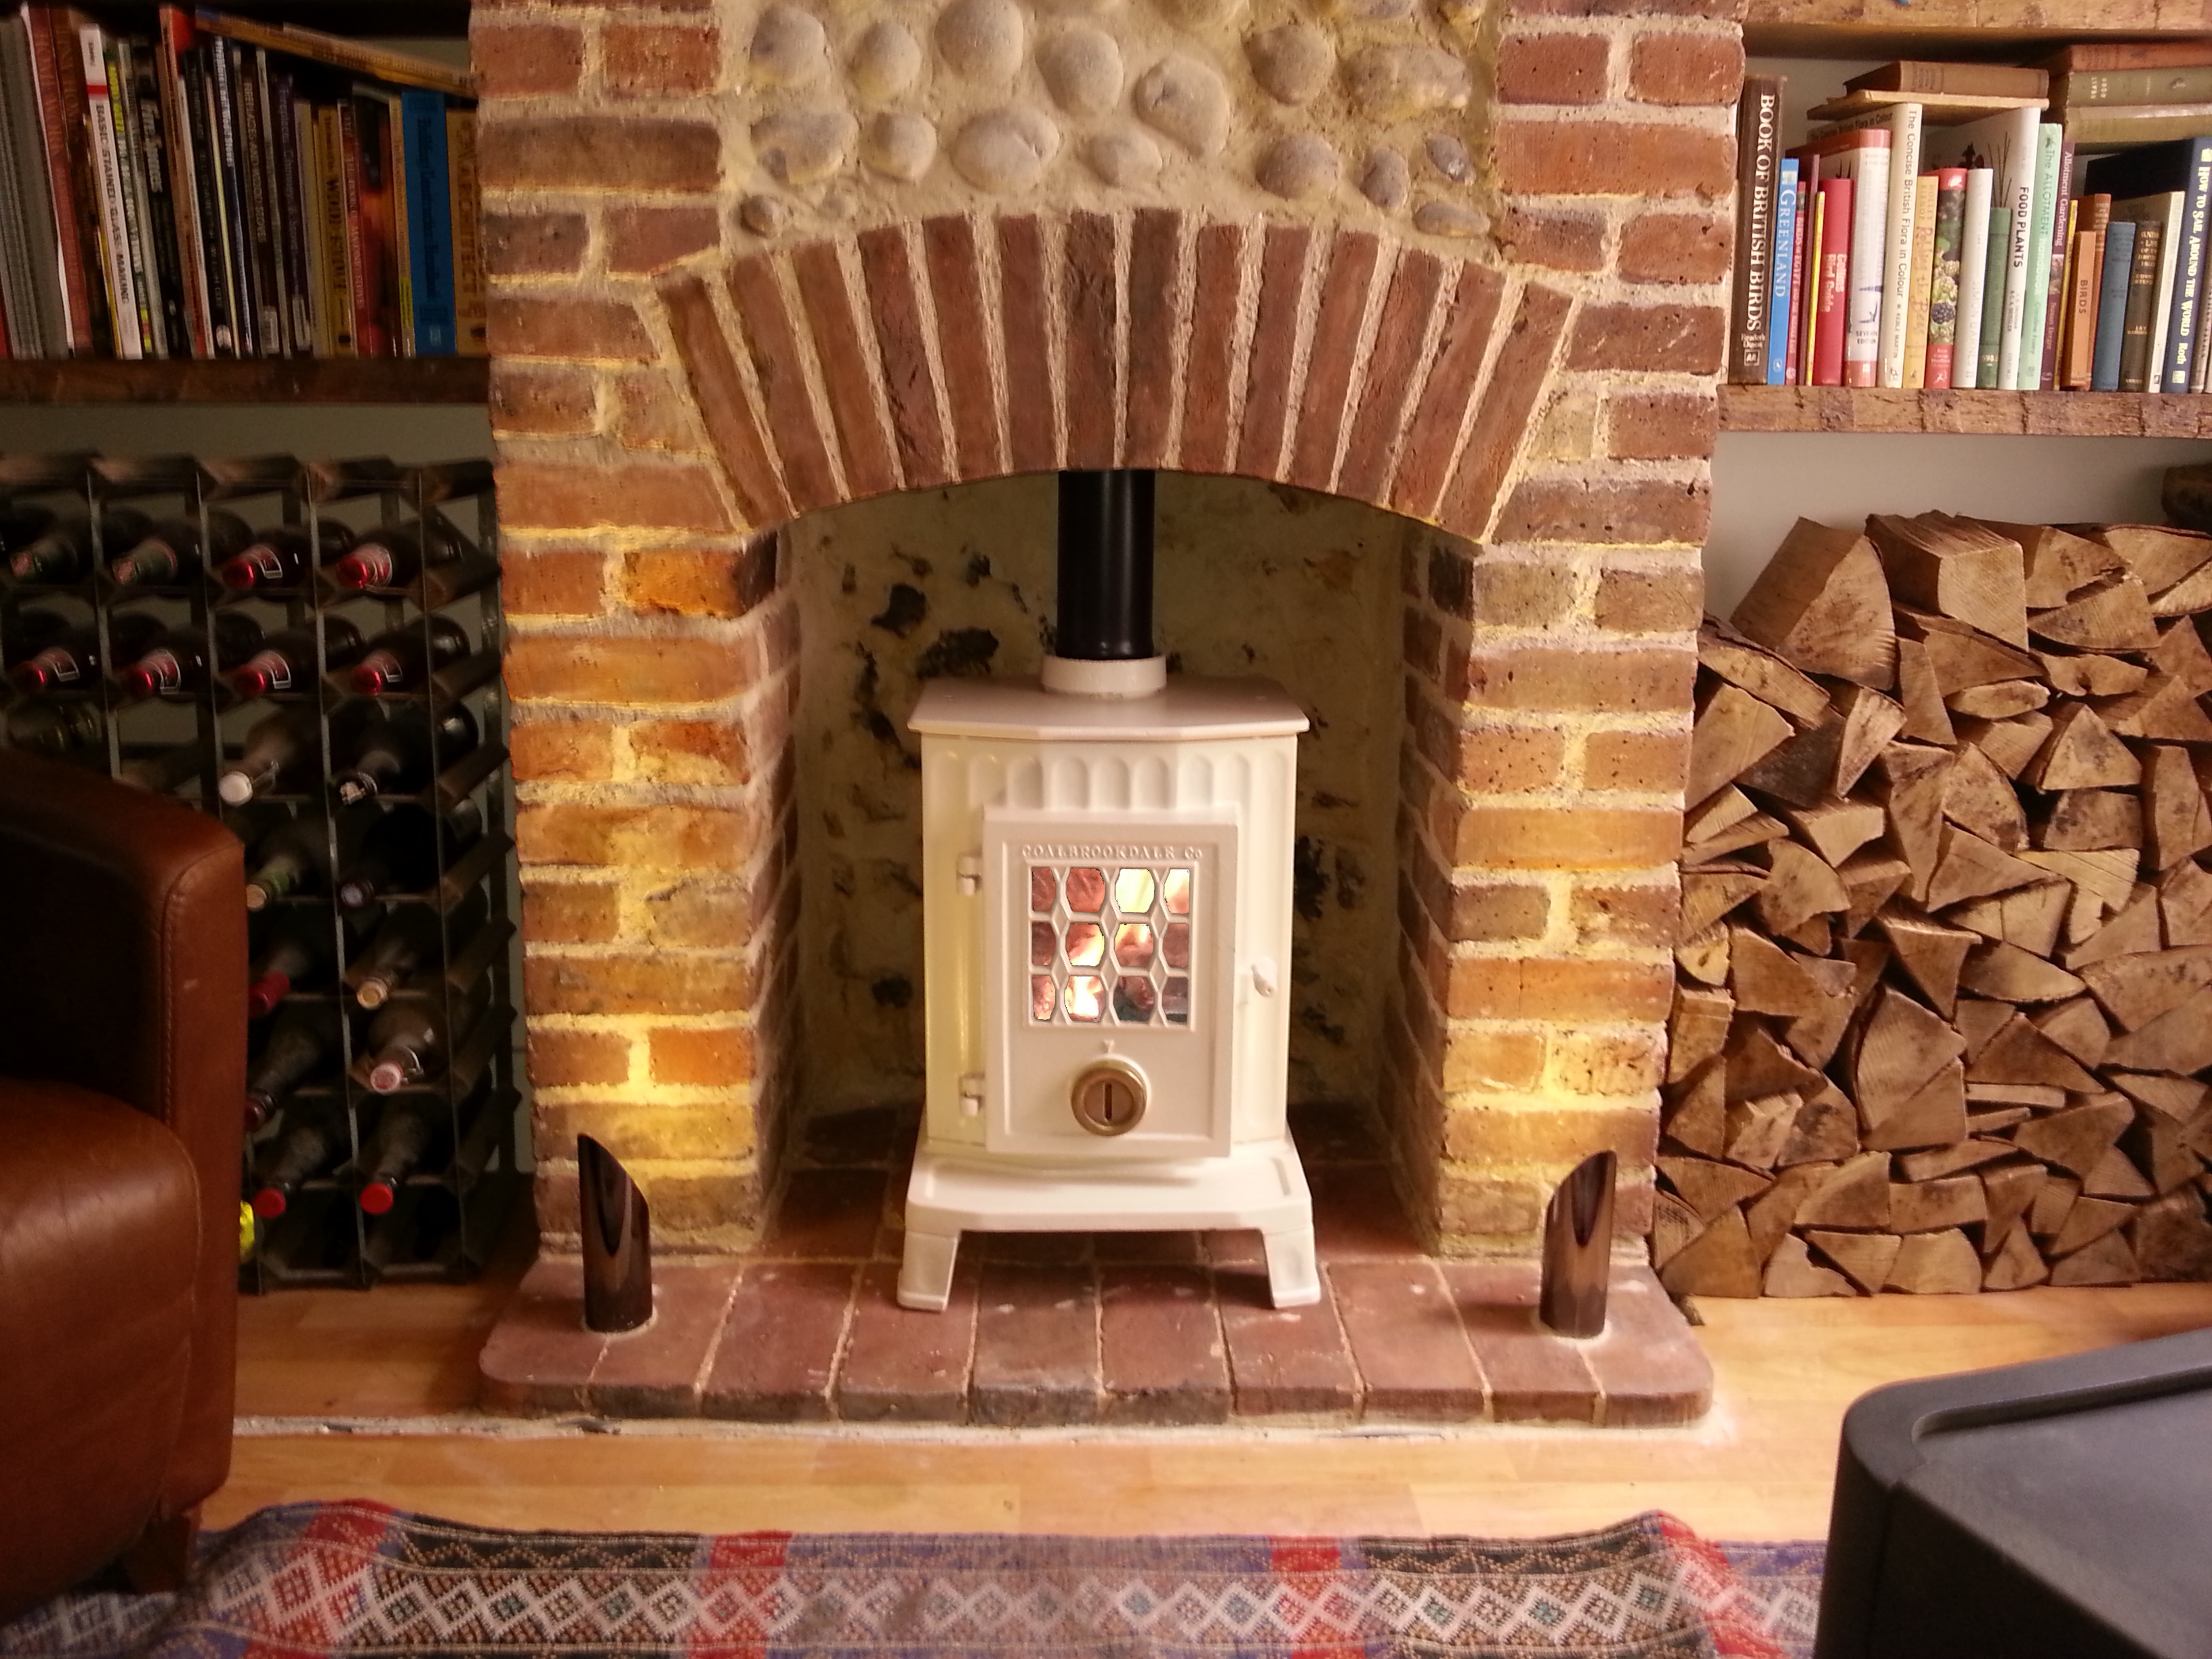
The appeal for me was the Art Deco door and fluting on the stove's
casing as well as the fact I'd just renovated a similar stove for a
customer.
Data discovered about the stove indicates it has a 5.7kW output
with wood and a 4.1kW output on mineral fuels with a 79% efficiency.
The burner requires a class 1 flue and has a weight of 66kg. It's
manufacture predates compulsory CE certification. The Coalbrookdale
foundry recently celebrated its 300 year anniversary in 2009.

The stove was purchased on eBay for a few hundred pounds in Ripley
Derbyshire, I made a mistake and thought the burner was in Ripley,
Surrey so had to pay a courier as well.
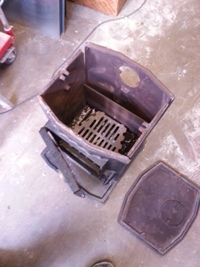
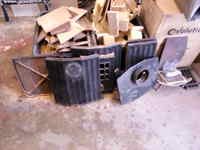
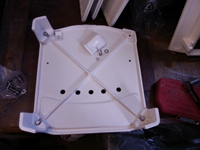
The stove is of cast iron construction, meaning each side is a cast
plate that is clamped and bolted in position and usually sealed with
firerope. The stove was intact when bought but the top plate was loose
on one side and bodged with fire cement. One bolt had sheered and the stove was entirely devoid of
any firerope seals.
The burner is multi-fuel and this example was not firebrick lined
although I have encountered Coalbrookdale's that were.
All the castings were intact, but the air control could not
close fully and the fire basket was inappropriate for the stove.
An oddity of the Coalbrookdale stoves I've encountered is the top
plate on first examination appears to be cracked. When examined this
is a blemish cast into the metal upon manufacture. Presumably
Coalbrookdale never thought to correct this.
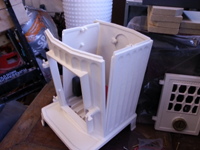
Firstly the stove was disassembled and each casting was roughly
brushed and cleaned of loose material.
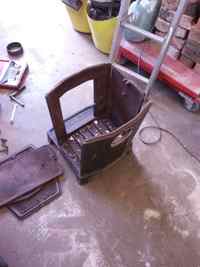
The sheered bolts were drilled and ground out, the door removed and
dismantled and each component examined and a list of each of the small
jobs needed noted.
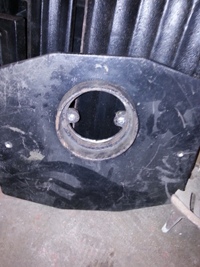
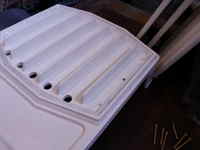
The collar fixed to the rear outlet was removed, the top plate
marked out for cutting a hole for a top exhaust. The legs were
removed.
The air control spindle was removed and new stainless steel bolt
inserted and cut to length to allow the air control to fully close.
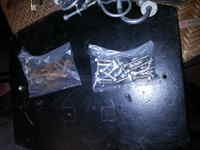
New bolts and assemblies were purchased and surprisingly the entire
burner is threaded using metric threads. Two holes were drilled into
the top plate and countersunk for the new closure bolts.
This means the heads will be visible but flush. the same
arrangement will me made for the rear blanking plate.
The top plate was stitch drilled and ground carefully to allow the
collar to sit recessed in a newly cut rebate.
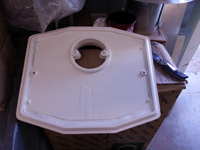
A new blanking plate was cut to the weird Coalbrookdale size of
4½" and drilled and countersunk.
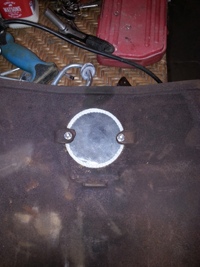
I took the view that the stove is unlikely to changed back to a
rear outlet so I left the collar and blanking plate in place when the
components were sent to the enamellers.
Both the rear blanking plate and the top collar are sealed with new
firerope. The rear blanking plate was cut from heavy gauge steel,
drilled and countersunk.
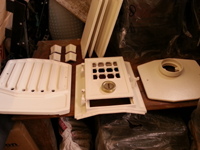
The enamellers bead blast each section to remove all paint and fire
cement from the castings before applying their high temperature enamel
finish and baking it on.
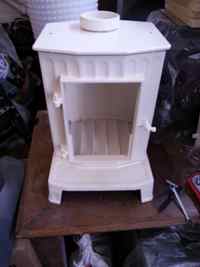
I've chosen a cream 'leatherette' that is textured finish which
should be ready mid April.
Slotted brass CSK screws were purchased for all visible parts of
the burner. The brass air control was polished with 'Brasso' polish.
Internal parts of the burner were wire brushed and ground then painted
with black Thermacure high heat paint.
The enamelled parts arrived back from the from the finishers on the
17th, packaged beautifully ready for reassembly.
Firstly the legs were bolted onto the base plate with new stainless
steel bolts.
New fire rope seals were applied throughout, onto the base plate,
the two side plates and the top plate.
The body of the stove was bolted into position and the top plate
bolted down with the brass CSK bolts.
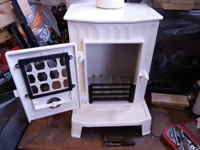
The door was reassembled and the fire glass cleaned and the frame
sprayed in black Thermacure. Again new seals were applied around the
fire glass.
As this project progresses I'll add to this page.
Andy April/May 2014
|